
Manage your slab inventory
Add slabs with tag, lot and yard location, reserve them for jobs, cut remnants and see each slab's status from received to used.
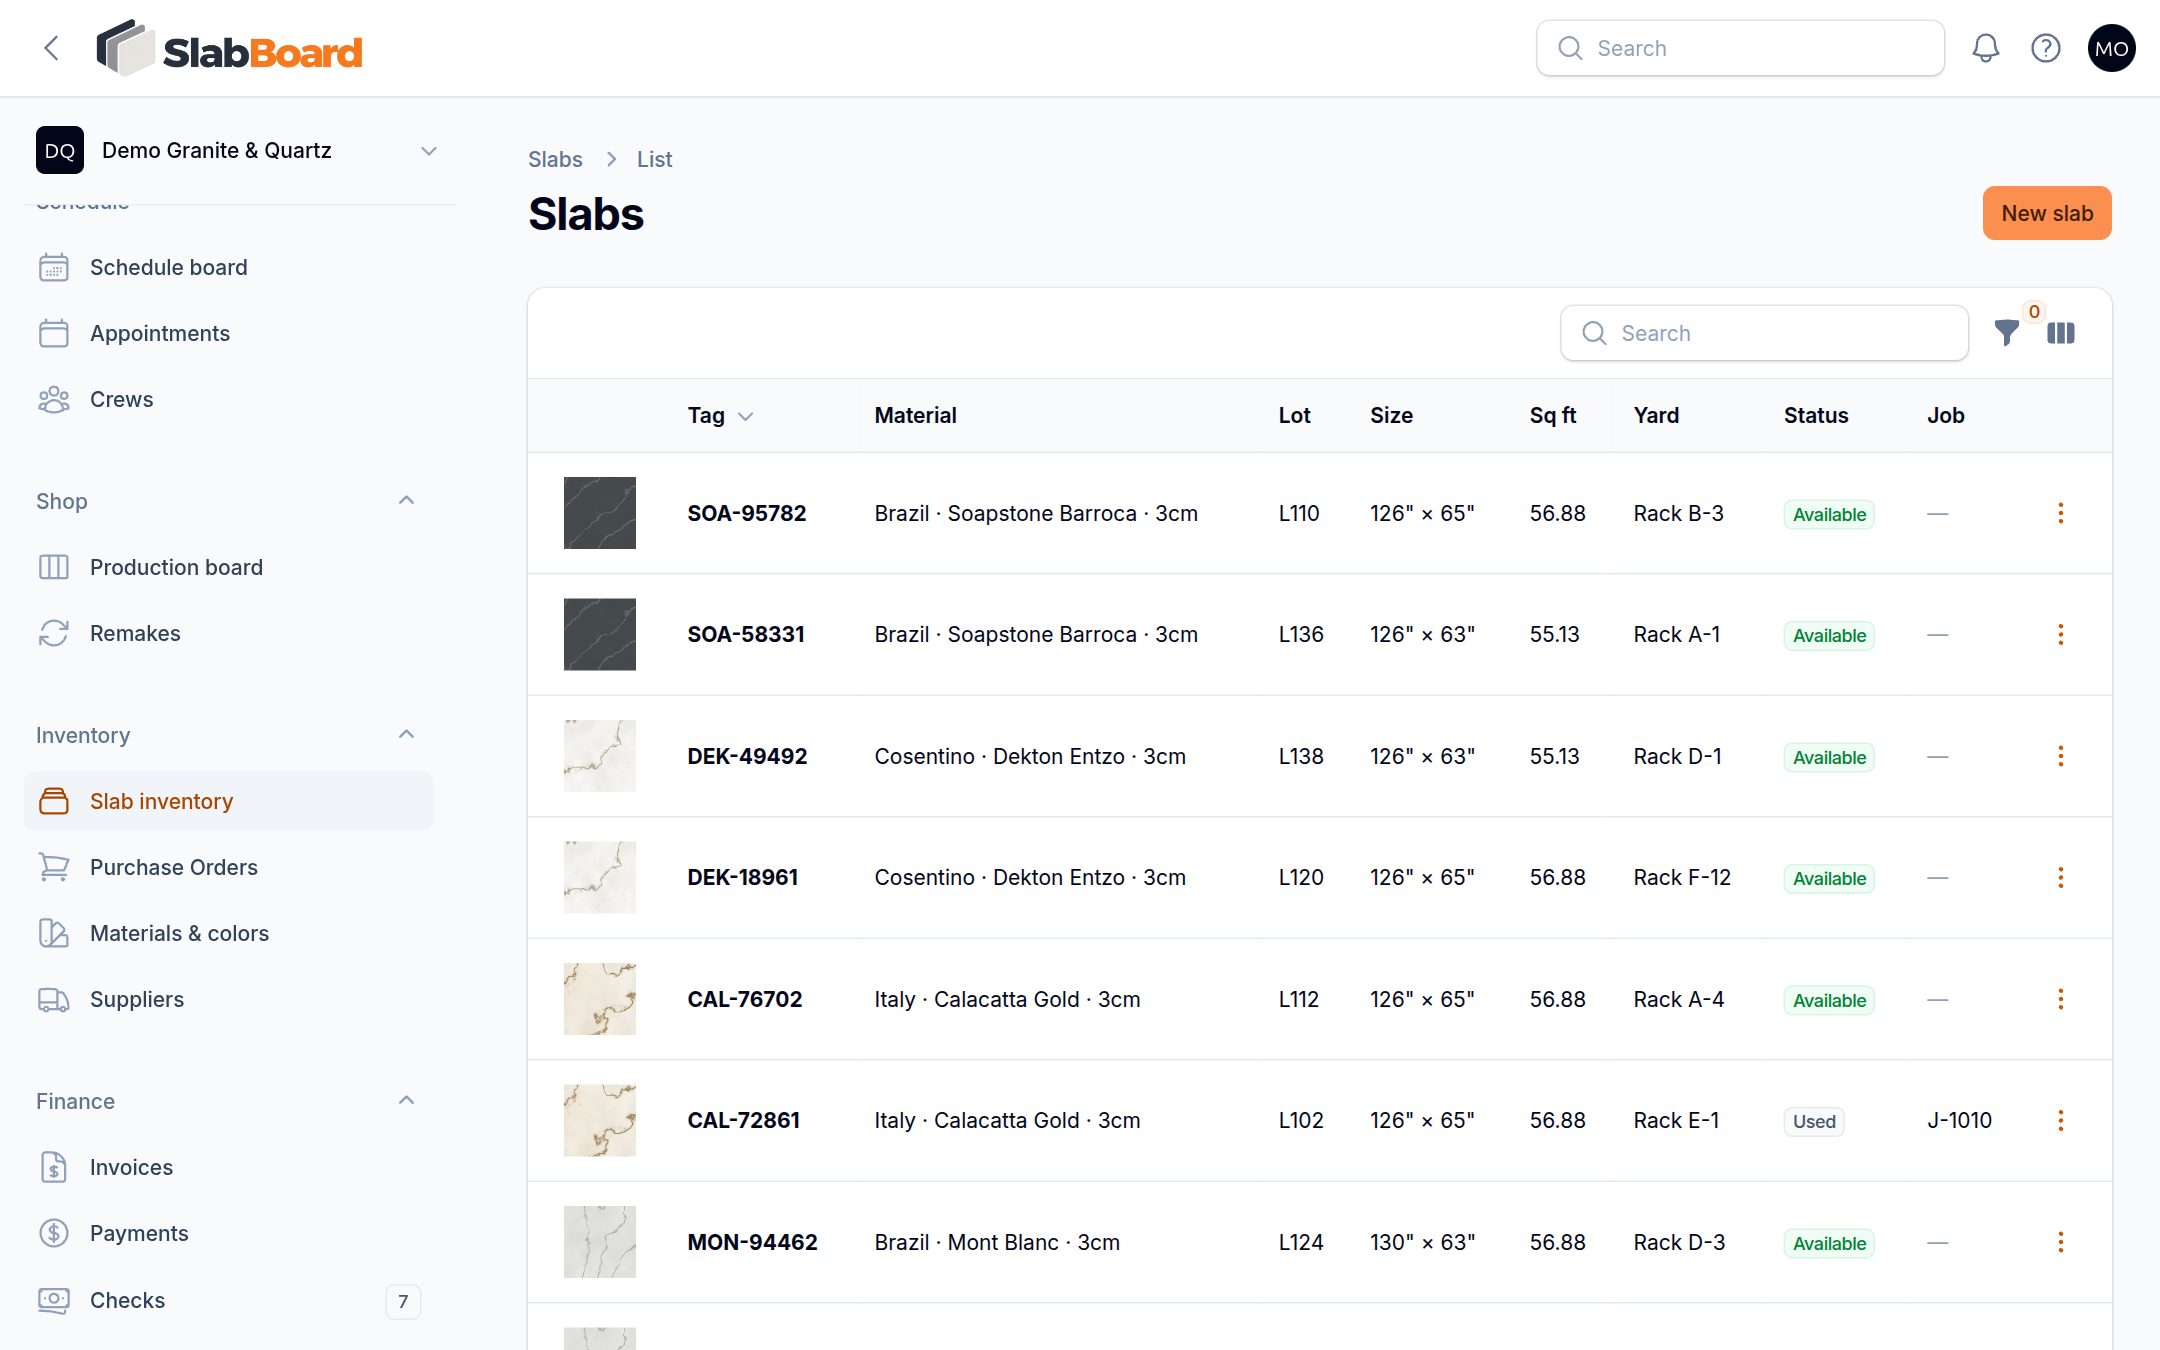
Slab inventory is your yard on screen: every slab with its tag, lot, size, rack and photo. You can see what's free, reserve slabs for a job, and keep remnants instead of losing track of them.
Before you start
- Slab inventory needs the Pro plan (Slab Inventory & Purchasing).
- Owners, Admins, Office, Sales and Fabricator users can open it. Fabricators don't see slab costs unless Company settings → Team access → Show job prices to the field crew is on.
- Your materials must exist first in Inventory → Materials & colors.
- Open it from Inventory → Slab inventory.
Slab statuses
| Status | Meaning |
|---|---|
| On Order | Ordered, not here yet. Set by hand. |
| Available | In the yard, free to use. |
| Reserved | Held for a job. |
| In Production | The job's first shop step has started. |
| Used | The job is installed. |
| Damaged | Broken or unusable. |
| Sold | Sold as a slab. Set by hand. |
Most changes happen on their own:
- Receiving a purchase order adds slabs as Available, or Reserved if the PO is for a job.
- Reserving a slab, or saving a slab layout on a job, sets Reserved.
- Starting the first production step moves Reserved slabs to In Production.
- Finishing the install moves them to Used.
- Cancelling a job sends its Reserved slabs back to Available. In Production slabs stay put.
Add a slab
Most slabs come in through purchase orders. To add one by hand:
- Click New slab.
- Check the Tag. SlabBoard suggests the next one, like S-1001. Each tag can be used once.
- Pick the Material. Thickness and supplier fill in.
- Add Lot #, Block # and Bundle if you track them.
- Enter Length (in) and Width (in). They start from your default slab size.
- Add the Yard location, for example Rack A-3, and the Cost.
- Add a Photo. The slab layout editor uses it.
- Click Create.
Find a slab
- Search by tag, lot number or material.
- Filter by Status, Material, Lot or Remnants only.
- Turn on hidden columns like Cost and Received from the column menu.
Reserve a slab for a job
- Open the slab's row menu and click Reserve for job. Only Available slabs have it.
- Pick the job.
- If the job already has slabs from another lot, you see a Lot mismatch warning. It doesn't block you. Check color with the customer.
- Confirm. The slab becomes Reserved and links to the job.
You can also reserve from the job: Slabs & shop → Slabs → Reserve slabs, then pick one or more available slabs.
To undo, click Release on the slab. It goes back to Available.
Good to know: Picking a job in the slab's edit form doesn't change the status. Use Reserve for job instead.
Cut a remnant
- On the parent slab, click Cut remnant.
- Check the Tag (for example S-1001-R1) and Yard location.
- Enter the remnant's Length (in) and Width (in).
- Confirm. A new Available slab marked Remnant is added, with the same material, lot and supplier.
The parent slab doesn't change. Set its status yourself if needed. Square feet are the full rectangle, so measure the usable part.
Mark a slab damaged
- Click Mark damaged.
- Write what happened (optional). It's added to the slab's notes with the date.
Related
Still stuck?
Write to us and a real person will answer. [email protected]