
Work orders, piece labels and DXF files
Print a work order and piece labels for the shop, get template files from the field, and export DXF files for your CAM or saw software.
Everything the shop needs to cut a job comes from the job page: a printed work order, a label for every piece, the template files your templater sent, and DXF files for your CAM software.
Before you start
- Work orders, piece labels and template files work on every plan.
- DXF export and import need the Premium plan (Fabrication Integrations).
- Labels and the pieces DXF use the job's Pieces list. Add pieces on the job first: Job details → Pieces.
Print a work order
- Open the job.
- Click the … menu at the top of the page.
- Click Print work order. A PDF opens in a new tab.
The work order shows:
- Customer, job site address, material, edge, sink, square feet and the PO number if there is one.
- The job drawing, if the job has one.
- The pieces table: label, area, size, quantity, edge and notes.
- Assigned slabs with tag, lot, size and yard location.
- The schedule, the site readiness checklist and the job notes.
It never shows prices.
Important: The notes section prints the job's notes and its internal notes together. Don't put anything in internal notes you wouldn't want the shop or a customer to read on the printout.
Print piece labels
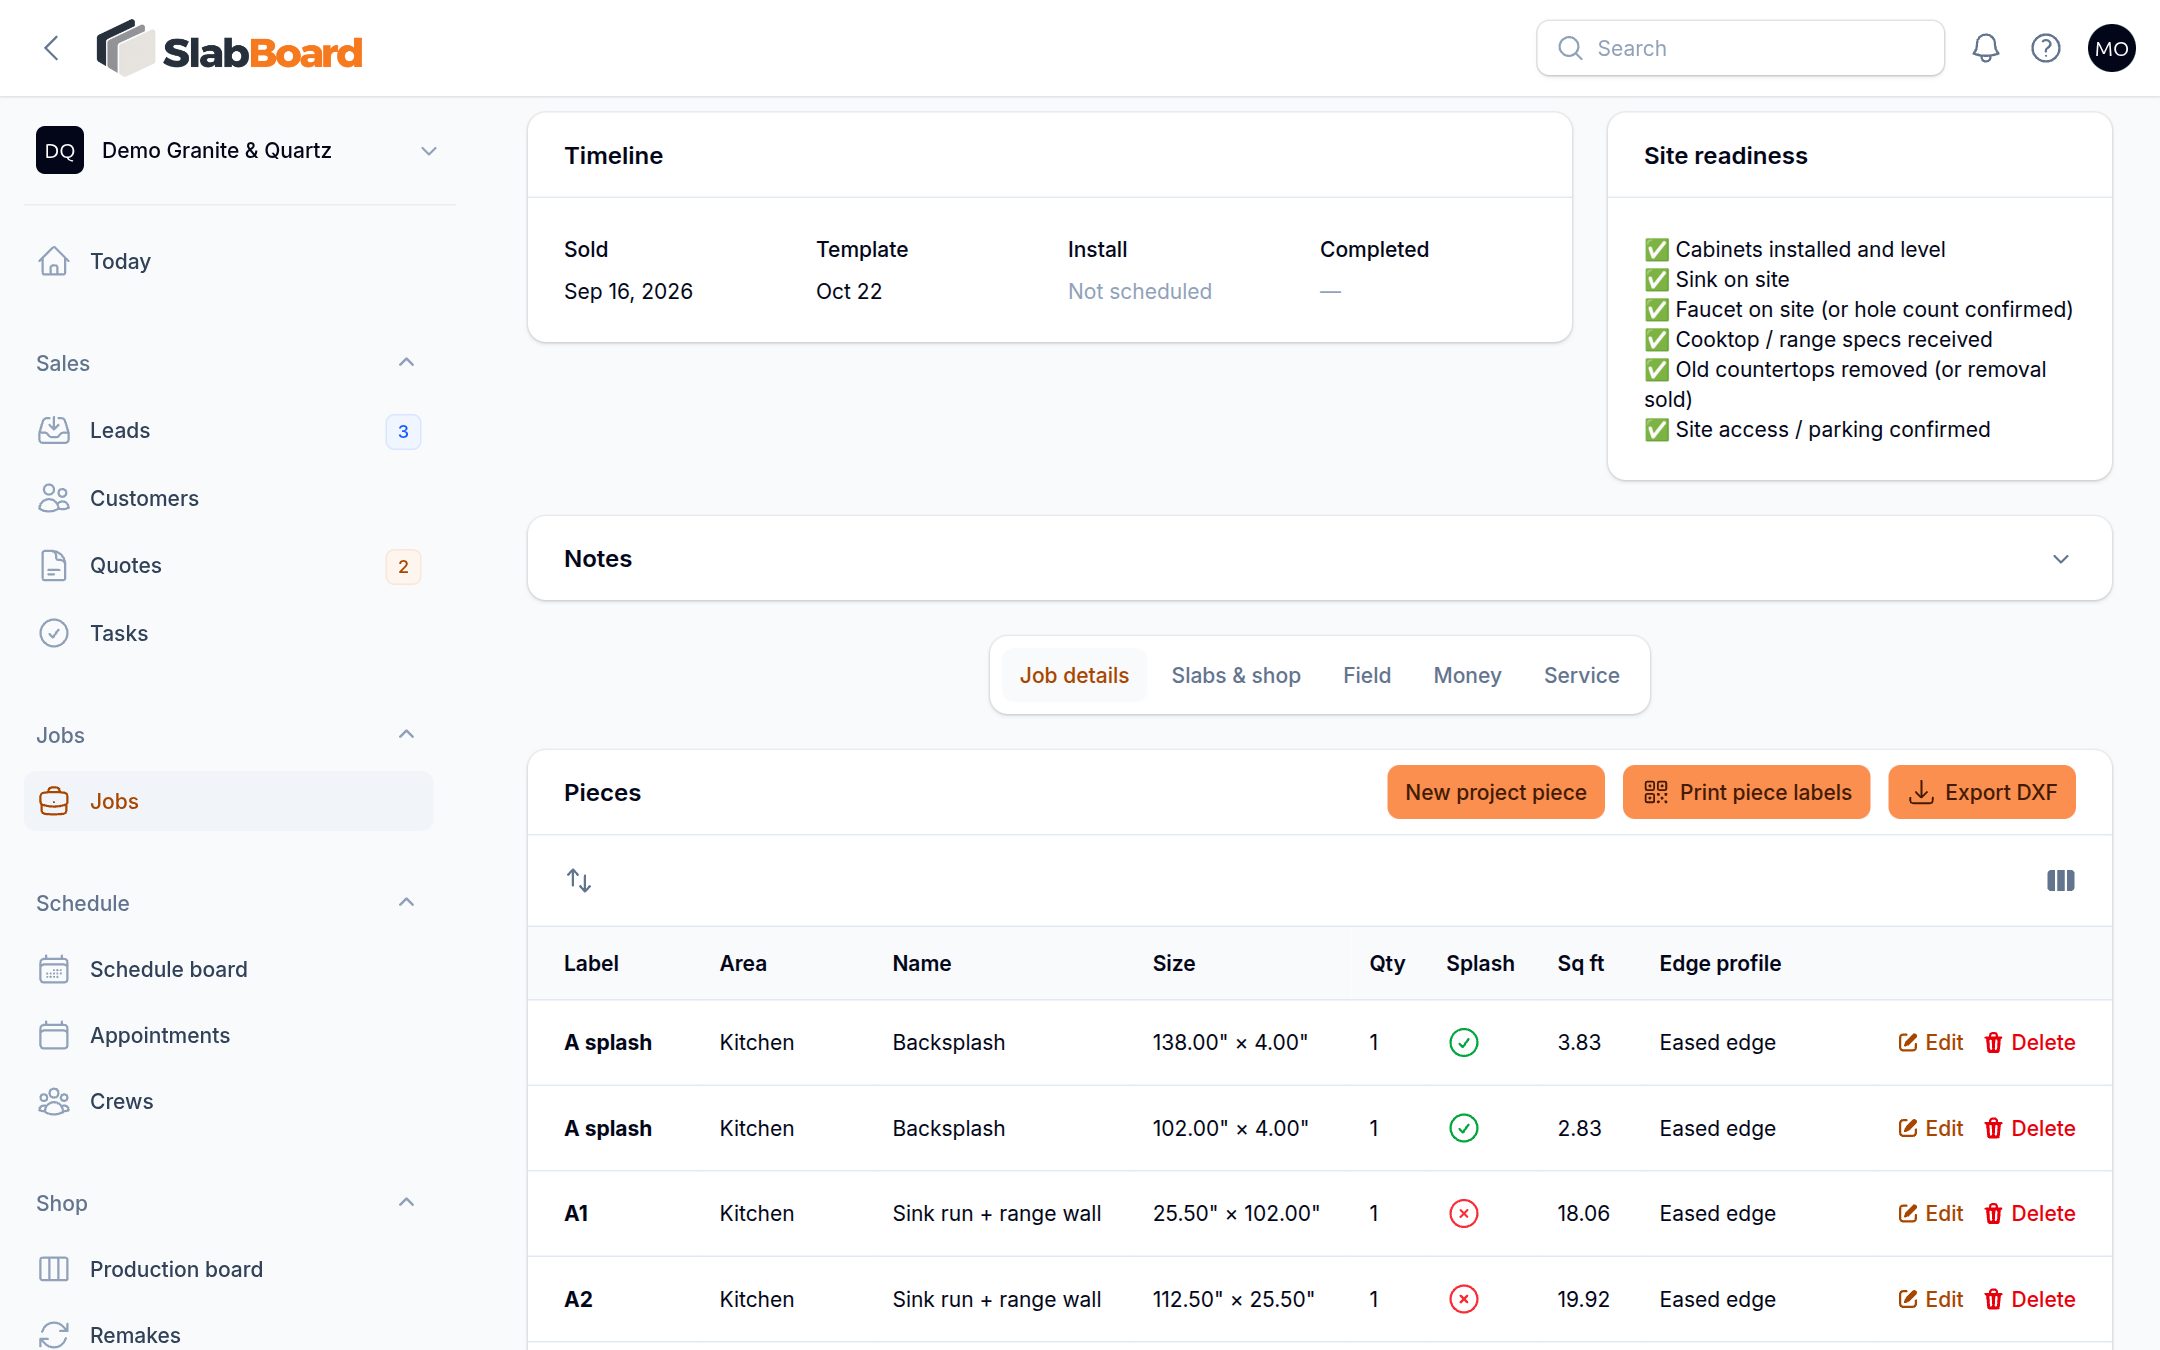
- Open the job and go to Job details → Pieces.
- Click Print piece labels. A PDF opens in a new tab.
- Print it on a thermal label printer with 4" × 2" labels.
You get one label per piece per quantity. A piece P1 with quantity 3 prints P1-1, P1-2 and P1-3. Each label has a QR code, the big piece label, job number and name, area and piece name, size, edge and material.
Get template files from the field
Templaters upload their files from the field app with Upload template file. You can also upload them yourself.
- Open the job and go to Field → Template files.
- To add one, click Upload template file. Pick the Source (Prodim Proliner, LT-55 / LT-2D3D, Flexijet, Manual / Wood Template or Other), choose the file (up to 100 MB) and add notes.
- Click Download on a row to get the file.
Filter by Source to find laser template files fast.
Export DXF files
These buttons show only on the Premium plan. All files are in inches.
| What | Where | What's in it |
|---|---|---|
| Pieces DXF | Job details → Pieces → Export DXF | Each piece (× quantity) as a plain rectangle, side by side, on layers TOPS, SPLASH and LABELS. Good for starting nesting in your CAM software. |
| Drawing DXF | Inside the job or quote drawing editor | The drawing with curves, cutouts and seams. |
| Slab layout DXF | Inside the job's slab layout editor | Every slab with the parts placed on it. Needs a drawing and a saved layout. |
Important: The pieces DXF is rectangles only. It has no curves or cutouts. Use the drawing DXF for real shapes.
Import a DXF from a laser templater
On Premium, the drawing editor has Import DXF (files up to 20 MB). Use it to bring a Prodim or LT-55 export into the job drawing. See Auto layout and DXF.
Good to know: There's no live connection to Prodim, LT-55, Slabsmith or your saw. It's a file workflow: upload the template file on the job, then download DXF files and labels from the job page. Settings → Integrations shows this as File workflow.
Related
Still stuck?
Write to us and a real person will answer. [email protected]